

How To Install Android On Raspberry Pi 3
Here's my build of LineageOS 16.0 for Raspberry Pi 3 Model B and Model B+. It is unofficial and unsupported by the LineageOS squad. It's for advanced users only.
Important! This prototype includes parts that are licensed under non-commercial license (Artistic Commons Attribution-NonCommercial-ShareAlike iv.0 International). Yous may use this build freely in personal/educational/etc use. Commercial utilise is non allowed with this build!
Do non mirror my builds! Please post a link to this folio instead.
lineage-xvi.0-20200713-UNOFFICIAL-KonstaKANG-rpi3.cypher
https://world wide web.androidfilehost.com/?fid=8889791610682891697
md5:3689e767c41858bb53db20190b6542a5
Working:
- Audio (HDMI, 3.5mm jack, USB microphones, bluetooth speakers/headsets, etc)
- Audio DAC (using PCM512x DACs e.g. Hifiberry DAC+)
- Bluetooth
- Camera (using official Pi camera modules & UVC USB webcams)
- GPIO
- GPS (using external USB modules e.k. U-Blox 7)
- Ethernet
- Hardware accelerated graphics (VC4)
- HDMI brandish
- I2C
- IR remotes (using external GPIO IR modules e.m. TSOP4838)
- RTC (using external GPIO I2C modules e.k. DS3231)
- Serial console (using external GPIO serial panel adapters e.g. PL2303)
- SPI
- Touchscreen/multi-touch (using official 7" display with SwiftShader software renderer)
- USB (mouse, keyboard, storage, etc)
- Wifi
- Wifi tethering
Non working:
- Hardware video decoding & encoding
Bug:
- SELinux is in permissive mode
- and more…
Sources:
- kernel
Thanks:
- peyo-hd and everyone who has contributed to android-rpi
- brobwind for graphics and bluetooth fixes
- Eric Anholt for VC4 graphics driver
- Google for Android Things platform
- Android-x86 project
- LineageOS team & everyone who has contributed to LineageOS 16.0
How to install:
- Follow the official Raspberry Pi instructions for writing the image to the SD card.
FAQ:
Q: I tin't detect developer options, why?
A: Settings -> About tablet -> Click 'Build number' several times
Q: I have no root, why? What is that hashtag on my status bar?
A: Yous need enable root admission under Settings -> System -> Developer options -> Root access. Root management is at present integrated equally part of LineageOS' Privacy Guard and you can manage per app permissions under Settings -> Organization -> Developer options -> Manage root access. You'll accept a persistent notification in the condition bar when you lot're running an app that uses root permissions.
Q: Settings -> Storage shows total organization size of 4 GB. There'southward unallocated space on my sdcard. What should I practice?
A: This is a four GB image, remaining space on your sdcard volition remain unallocated. Easiest way to extend /data partition is to merely flash my resize zip in TWRP.
Culling option is to use east.m. GParted and extend /data partition (/dev/block/mmcblk0p4) to encompass the unallocated space. Resizing the division manually volition break support for encrypting /data. Format /data in TWRP recovery (Wipe -> Format data) after resizing to leave required space for crypto footer.
Q: My display is not working. I can merely run into the rainbow screen but no Android kick animation. What should I practice?
A: This build only supports HDMI displays that report supported resolutions using EDID. 1280x720 resolution is used by default with this build. You can modify value in /kicking/resolution.txt to utilize a different resolution that your display supports.
Q: I have official 7" LCD display and touchscreen. What should I do?
A: Official 7" touchscreen is but supported using SwiftShader software renderer. Meet below how to switch between different graphics drivers. You will also need to change display size under Settings -> Display -> Display size (or change ro.sf.lcd_density to 120 in /organisation/build.prop) to adapt to the smaller resolution.
Q: I need to use SwiftShader software renderer to utilize the official 7" brandish or I want to boot without any brandish connected. What should I do?
A: Alarm, SwiftShader is a software renderer and using information technology affects graphics functioning. You can switch between MESA and SwiftShader graphics drivers past executing following commands in 'adb beat out'/serial panel/last (yous can enable born terminal app from Settings -> System -> Developer options -> Local terminal):
su rpi3-graphics.sh swiftshader Q: Raspberry Pi doesn't have power push, how do I ability off/reboot my device?
A: Following keyboard keys piece of work as Android buttons: F1 = Home, F2 = Back, F3 = Multi-tasking, F4 = Menu, F5 = Power, F11 = Book down, and F12 = Volume upwards. Yous tin can also utilize 1 of many third political party reboot applications.
Q: How to create a DIY hardware ability button?
A: You lot can send ability push events by connecting GPIO21 to footing.

Execute following commands in 'adb shell'/series console/concluding (you tin can enable built-in terminal app from Settings -> Arrangement -> Programmer options -> Local concluding) to enable the feature and reboot your device:
You tin can also employ the DIY power push button to boot the device to TWRP recovery. Press and agree the push while powering on the device until yous see the TWRP screen. If you lot employ this method to kick to recovery, you can ignore what is said nigh booting into/out of TWRP later in the FAQ.
Q: How to enable sound through iii.5mm jack?
A: Execute post-obit commands in 'adb vanquish'/serial panel/terminal (you can enable congenital-in terminal app from Settings -> System -> Developer options -> Local terminal) to enable the characteristic and reboot your device:
Q: How to boot from USB device?
A: Alert, this is an experimental feature and at that place's even so some issues with it. Android shows USB storage notification for each partition and you should ignore these. TWRP shows errors in few places but everything seems to be working regardless of this.
- Follow the official instructions on how to enable USB kicking on Pi 3 B (this step is not needed on Pi 3 B+)
- Write image to your USB device as to a higher place
- Mount the USB device on your computer and rename following files on the kick partition:
mv ramdisk.img ramdisk-sdcard.img mv ramdisk-usb.img ramdisk.img mv ramdisk-recovery.img ramdisk-recovery-sdcard.img mv ramdisk-recovery-usb.img ramdisk-recovery.img - Plug in the USB device to your Raspberry Pi, remove whatever sdcard, and kick
Q: How to boot to TWRP recovery?
A: There's currently no proper manner to boot between Android and TWRP, but this tin can achieved by renaming the ramdisk you want to boot. Execute following commands in 'adb shell'/serial console/terminal (y'all can enable congenital-in last app from Settings -> Organisation -> Developer options -> Local last) and reboot your device:
If mouse cursor doesn't announced, effort replugging your mouse.
Q: How to boot out of TWRP recovery?
A: You lot tin can execute the same script in TWRP terminal (Advanced -> Terminal) if you accept kicking and system partitions mounted (Mount -> Kicking & Mountain -> Organisation):
Or y'all can flash my recovery2boot zip in TWRP.
Q: My device keeps booting into TWRP recovery. What should I do?
A: If you have GPIO21 connected to ground (or if you lot accept something drawing power from it) your device will always boot to TWRP recovery (run across FAQ department almost DIY power button). If you lot have a hardware failure on GPIO21 you can edit /kicking/config.txt to remove the GPIO21 related logic (see 'Ramdisk' and 'Graphics acceleration' sections).
Q: How to update from previous LineageOS 16.0 build without losing data?
A:
- Boot to TWRP recovery with the build yous desire to keep the data (see FAQ)
- Plug in an external USB storage device and select 'Backup'
- Use 'Select Storage' to cull the USB device and 'Swipe to backup' (information technology's just necessary to fill-in the data partition then you can uncheck other partitions to speed up the process)
- Write new LineageOS 16.0 paradigm to the sdcard following installation instructions
- Boot to TWRP recovery with the new build (run into FAQ)
- Select 'Restore' and find the fill-in you created from the USB device ('Select Storage')
- Make certain you only accept data selected as partitions to restore (uncheck other partitions if available) and select 'Swipe to Restore'
- (Flash Google apps parcel/other add together-ons yous had previously installed)
- Boot out of recovery (see FAQ)
Q: How to install Google apps?
A: Warning, installing gapps slows things down specially on low-finish devices with express amount of RAM such as this one.
- Download open_gapps-arm-9.0-pico-xxxxxxxx.nothing and salvage it to your device's internal storage or utilize an external USB drive
- Boot to TWRP recovery (see FAQ)
- Install open_gapps-arm-9.0-pico-xxxxxxxx.zip from your selected storage
- Wipe -> Manufacturing plant reset!
- Kick out of recovery (see FAQ)
Merged commits not mentioned in the changelog.
13.7. changelog:
- add ir-keytable tool to configure IR remotes
- enable USB gadget back up & fix adb toggle in developer options
- add support for storage devices with exFAT filesystem
- hide su binary when root access is non enabled in programmer options
- add support for PCM512x audio DACs (tested with Hifiberry DAC+)
- improve back up for Waveshare HDMI touchscreens
- gear up recording videos with camcorder
- add TWRP flashable zippo to resize data division (encounter FAQ)
- update TWRP to three.iii.1-1
- update to MESA xx.one.three and latest upstream versions of minigbm gralloc, drm_hwcomposer, and libdrm
- update to Linux 4.xix.132 kernel and patch known vulnerabilities (CVE-xxxx-xxxx, and more)
- Android security patch level: v July 2022 (merged)
7.2. 2022 changelog:
- add camera HAL to support Pi camera modules and USB webcams (thanks to Android-x86)
- update to MESA 19.iii.iii and latest upstream versions of minigbm gralloc, drm_hwcomposer, and libdrm
- enable hardware overlays (improves graphics performance)
- add option to switch to SwiftShader software renderer due east.g. to utilize official vii" touchscreen or to boot without any brandish connected (see FAQ)
- fix portrait apps on forced landscape orientation (cheers to Ladehunter)
- update GPS HAL
- selection to utilise DIY hardware ability push to kicking to TWRP recovery (run into FAQ)
- initial support for IR modules and remotes (tested with TSOP4838)
- update to Linux 4.19.102 kernel and patch known vulnerabilities (CVE-xxxx-xxxx, and more)
- Android security patch level: 5 January 2022 (merged)
22.12. changelog:
- update to MESA xix.3.1 and latest upstream versions of minigbm gralloc, drm_hwcomposer, and libdrm
- set default resolution using a configuration file (run across FAQ)
- add vendor init library to set serial number, revision, and resolution properties
- add together health HAL to fake battery/charging
- add script to enable audio through iii.5mm jack (encounter FAQ)
- add initial back up for RTC hardware (tested with DS3231)
- update to Linux four.14.160 kernel and patch known vulnerabilities (CVE-xxxx-xxxx, and more than)
- Android security patch level: 5 December 2022 (merged)
27.6. changelog:
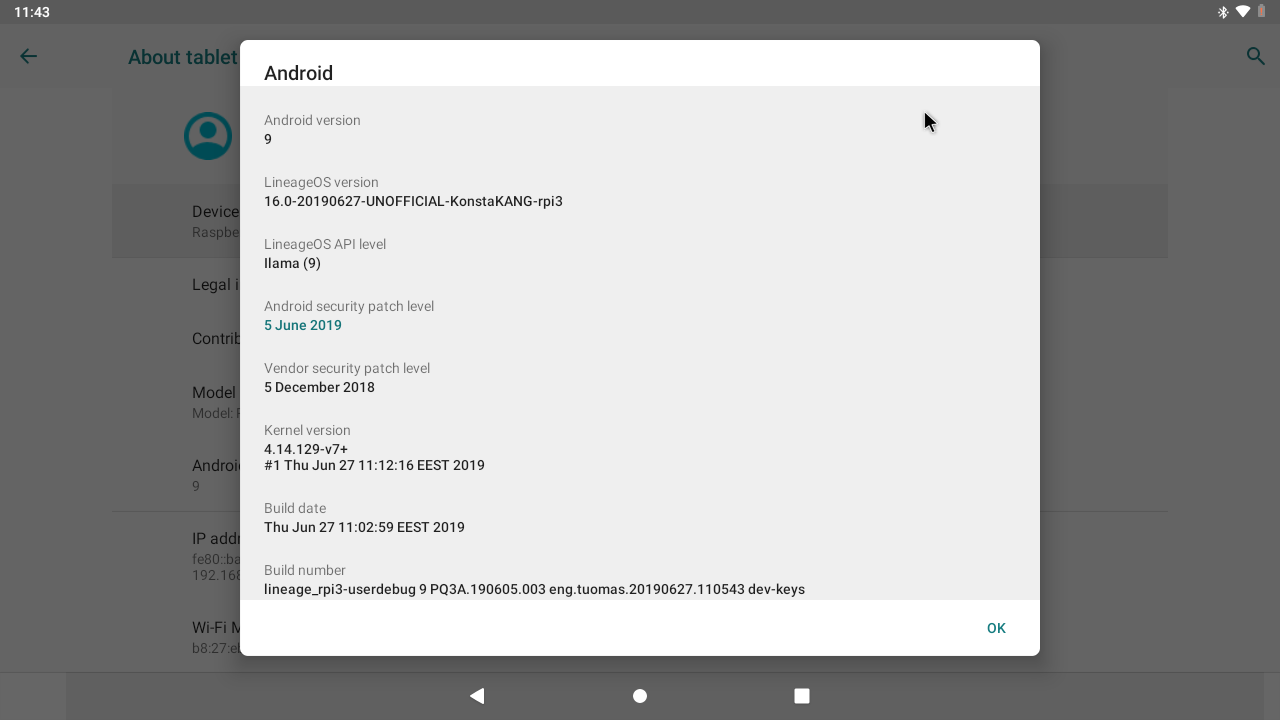
- initial LineageOS sixteen.0 build
- hardware accelerated graphics (thanks to brobwind for putting the terminal pieces together)
- VC4 using Mesa 19.1 with drm_hwcomposer & minigbm gralloc
- set bluetooth on Pi three B+ (thank you to brobwind)
- add together initial support for booting from USB devices (come across FAQ)
- add together support for DIY hardware power button (see FAQ)
- update TWRP to 3.3.ane-0
- update to Linux 4.14.129 kernel and patch known vulnerabilities (CVE-xxxx-xxxx, and more)
- Android security patch level: 5 June 2022 (merged)
Previous builds:
- AndroidFileHost

Source: https://konstakang.com/devices/rpi3/LineageOS16.0/
Posted by: wynterhioname.blogspot.com
0 Response to "How To Install Android On Raspberry Pi 3"
Post a Comment